
Want to make your indoor and outdoor spaces look amazing? Decorative flake epoxy finishes can do just that. This guide will show you how to turn simple surfaces into beautiful works of art. It’s perfect for homeowners, contractors, and design lovers alike.
Key Takeaways
- Understand the types of epoxy flakes available and their unique benefits
- Discover the common applications and uses of decorative flake epoxy finishes
- Learn the essential tools and materials required for a successful installation
- Ensure propersurface preparation and assessment before application
- Explore the step-by-step process of mixing, broadcasting, and applying the decorative flake epoxy
- Identify and troubleshoot common installation issues, such as bubble formation and color inconsistency
- Achieve professional-grade results with the right topcoat selection and application techniques
Understanding Decorative Flake Epoxy Systems
Decorative flake epoxy systems are a unique and eye-catching choice for flooring. They use a variety of epoxy flakes to create a stunning and durable finish.

Types of Epoxy Flakes Available
The flake epoxy systems offer many flake options. These include:
- Metallic flakes: These flakes come in metallic hues like gold, silver, and copper. They add elegance to any space.
- Colored flakes: These flakes are vibrant and come in many colors. They allow for endless design possibilities.
- Specialty flakes: From glitter to holographic, these flakes can make flake epoxy flooring stand out.
Benefits of Flake Epoxy Flooring
Flake epoxy systems have many benefits. They are great for both homes and businesses. These benefits include:
- Exceptional durability: The epoxy resin is very resistant and lasts a long time. It can handle a lot of foot traffic and impact.
- Slip resistance: The flakes make the floor textured. This improves traction and makes it safer.
- Customizable aesthetics: With so many flake options, flake epoxy flooring can match any design. It can go from classic to modern.
Common Applications and Uses
Flake epoxy systems are versatile. They can be used in many places, including:
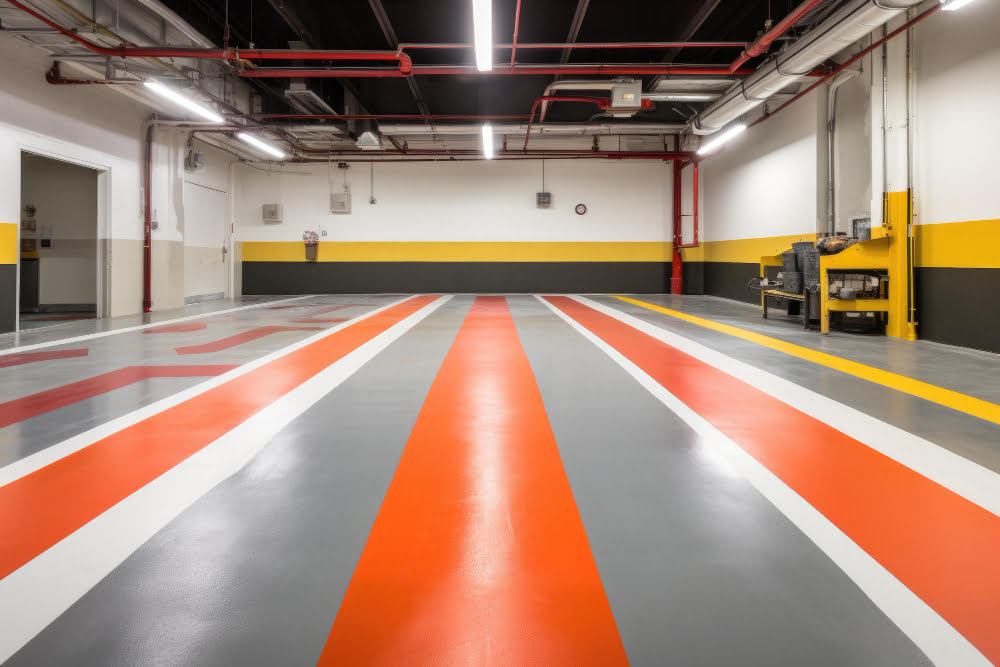
- Garages and workshops: They are perfect for these busy areas because they are durable and slip-resistant.
- Commercial spaces: Stores, restaurants, and offices can benefit from their beauty and function.
- Industrial facilities: Places like manufacturing plants and warehouses like them because they are long-lasting and easy to maintain.
Essential Tools and Materials for Installation
To get a beautiful Decorative Flake Epoxy finish, you need the right tools and materials. From mixing gear to application tools, having the right stuff is key for a smooth installation. Let’s look at the must-haves for your epoxy flooring project.
Mixing and Application Tools
- High-speed power drill with a mixing paddle attachment
- Epoxy-compatible squeegees or notched trowels for spreading the material
- Spike roller or loop roller for even distribution and de-aeration of the epoxy
- Broadcast hopper or handheld spreader for uniform flake dispersal
Safety Gear
- Chemical-resistant gloves to protect your hands
- Protective goggles to shield your eyes from splashes
- Respirator or dust mask to avoid inhaling fumes or particles
- Coveralls or protective clothing to keep your skin covered
Epoxy Installation Materials
For the epoxy materials, you’ll need:
- Epoxy resin – The base that makes the durable, glossy finish
- Hardener or curing agent – Works with the resin to cure it
- Decorative flakes – In many colors and sizes for your look
- Epoxy primer – Helps the topcoat stick to the surface
Getting top-notch epoxy installation tools and flake epoxy materials is key for a lasting, beautiful epoxy finish. With the right tools and prep, you’ll make your space look amazing with an epoxy floor.
Surface Preparation and Assessment
Getting a perfect epoxy floor starts with careful surface prep. This step is key for a durable, beautiful epoxy floor. Let’s look at the important parts of surface prep and check to make sure your epoxy floor goes in right.
Moisture Testing Requirements
First, you need to test the concrete for moisture. This step finds any moisture problems that could affect the epoxy’s stickiness. Doing a moisture test right is a must before you start.
Concrete Surface Profile (CSP) Guidelines
The Concrete Surface Profile (CSP) measures how rough or smooth the concrete is. You want a CSP of 3 to 5 for the best epoxy bond. To get there, you might need to grind or shot-blast the surface.
Repair and Patching Techniques
- Find and fix any cracks, spalls, or other flaws in the concrete.
- Use the right patching materials to make the surface even and smooth.
- Make sure all repairs are fully set and blend with the concrete before applying epoxy.
Good surface prep and checking are the base for a great epoxy floor. By fixing moisture, surface texture, and doing repairs, you’re ready for a durable, attractive epoxy finish.
Primer Application Techniques
Applying an epoxy primer correctly is key to a great decorative flake epoxy finish. The primer acts as a base, making sure the flake epoxy sticks well to the concrete. Let’s look at the main ways to apply epoxy primer and flake epoxy primer.
First, pick the right primer for your project and concrete type. Talk to a pro to find the best primer for you. After choosing, mix the primer as the maker says.
- Mix the primer well, making sure it’s even.
- Use a roller, brush, or special tools like a squeegee to apply it.
- Put on a thin, even layer, covering the whole area without too much.
- Wait for the primer to dry fully before adding the decorative flake epoxy.
Using the right epoxy primer application methods is important. It helps get a strong bond and a smooth surface for the flake epoxy primer. By doing these steps, you’ll have a solid base for your decorative floor. This will lead to a beautiful and lasting finish.
Decorative Flake Epoxy Application Process
Applying decorativeflake epoxy systems needs careful attention for stunning results. The flake epoxy application process has several key steps. Each step must be done with precision.
Mixing Ratios and Procedures
Mixing the epoxy resin and hardener correctly is crucial. The mixing ratios depend on the manufacturer’s instructions. It’s important to follow these closely. This ensures a consistent and durable finish.
Proper Broadcasting Methods
After mixing, it’s time to broadcast the flakes. Use a flake broadcasting hopper or special equipment for even distribution. This step requires skill for complete coverage and a beautiful pattern.
Coverage Rates and Patterns
The coverage rate and pattern depend on the project and client’s wishes. Coverage rates are usually 10 to 15 square feet per gallon. Always check the manufacturer’s guidelines for the right amount. Trying different patterns can lead to stunning results.
| Epoxy Flake System | Coverage Rate (per gallon) | Flake Broadcast Patterns |
|---|---|---|
| Standard Flake | 10-12 sq ft | Random, Uniform, Gradient |
| Metallic Flake | 12-15 sq ft | Checkerboard, Striped, Radial |
| Colored Flake | 10-15 sq ft | Blended, Speckled, Layered |
By following these guidelines, you can achieve a stunning flake epoxy application. This will impress and captivate your clients.
Topcoat Selection and Application
Choosing the right topcoat is key for a durable and beautiful surface. The topcoat enhances the look of flake epoxy finishing and protects it from damage. It’s important for both looks and durability.
When picking a topcoat, think about the gloss you want. You can choose from high-gloss, satin, or matte finishes. Each one adds something special to your epoxy floor.
The topcoat also needs to perform well. It should resist chemicals, UV rays, and wear. These features help your floor last longer and stay looking great.
Proper Application Techniques
Getting the topcoat on right is crucial for a smooth finish. Here’s how to do it:
- Make sure the epoxy base is clean, dry, and free of dirt.
- Mix the topcoat as the maker says.
- Use a roller, brush, or special tool to apply it evenly. Avoid drips.
- Let it dry for the time the maker suggests. This can change based on the product and where you are.
Stick to the maker’s advice for best results. This ensures your epoxy topcoat system works well for a long time.
| Topcoat Type | Gloss Level | Chemical Resistance | UV Stability |
|---|---|---|---|
| Polyurethane | High | Excellent | Good |
| Acrylic | Satin | Good | Excellent |
| Epoxy | Matte | Excellent | Fair |
By choosing and applying the topcoat wisely, you can make your flake epoxy finishing project look and last better.
Troubleshooting Common Installation Issues
Applying decorative Flake Epoxy Finishes can be tricky. You might run into problems during installation. But, with the right solutions, you can fix these issues and get a beautiful, lasting floor.
Bubble Formation Prevention
Air bubbles are a common problem in flake epoxy installation. They can happen if you mix the material wrong, apply it too thick, or don’t prepare the surface well. To avoid bubbles, follow the mixing and application instructions closely. Also, using a de-airing roller or spike roller can help remove air and smooth out the finish.
Color Inconsistency Solutions
Getting a consistent color in your decorative flake epoxy floor can be tough. This might be because of uneven flake distribution or base epoxy color variations. To fix this, mix the epoxy correctly and apply it evenly. Planning your flake pattern carefully can also help achieve a uniform and attractive finish.
Adhesion Problems and Fixes
Good surface preparation is key for strong adhesion of the flake epoxy to the substrate. If adhesion issues come up, check the surface and clean it if needed. You might need to grind or reapply the primer before recoating. Sometimes, using a bonding agent or a different epoxy system is necessary for better adhesion.
By tackling these common epoxy flooring issues and flake epoxy troubleshooting problems, you can have a successful and lasting decorative flake epoxy installation. Getting advice from experts or following the manufacturer’s guidelines can also help solve any problems you face.
Conclusion
Decorative flake epoxy finishes need a deep understanding and careful detail. By following this guide, you can get a beautiful, durable, and lasting epoxy floor for any project. This includes homes, businesses, or industrial spaces.
For a great epoxy floor, start with a clean surface. Use the right application methods and solve any problems that come up. Each step is important to get the look you want.
Decorative flake epoxy brings beauty, strength, and easy care. It’s perfect for making a garage, showroom, or industrial area look great. With this guide, you’re ready to start your next project. You’ll get a floor that looks amazing and lasts a long time.
FAQ
What are the different types of epoxy flakes available?
Epoxy flakes come in many sizes, colors, and materials. You can find vinyl, metallic, and natural stone flakes. The right flake type depends on your project’s look and needs.
What are the benefits of using flake epoxy flooring?
Flake epoxy flooring is very durable and slip-resistant. It’s also easy to maintain and looks unique. It’s a top choice for garages, commercial spaces, and industrial areas.
What tools and materials are required for a flake epoxy installation?
You’ll need mixing tools, application tools like trowels and rollers, safety gear, and the right epoxy products. Preparing these materials well is key for great results.
What are the key steps in surface preparation for flake epoxy?
Surface prep is critical. It includes testing for moisture, getting the right Concrete Surface Profile (CSP), and fixing any cracks. Following these steps ensures a strong bond for the epoxy.
How do I properly apply the primer for a flake epoxy system?
Choosing the right primer is crucial for adhesion. You need to mix it correctly and apply it smoothly. This step is important for a strong base for the decorative flake epoxy.
What is the process for applying the decorative flake epoxy?
Applying the decorative flake epoxy involves mixing it right, spreading the flakes evenly, and following coverage rates. Paying close attention to these details is key for the right look.
How do I select and apply the topcoat for a flake epoxy system?
Picking the right topcoat is important for protection and looks. Consider its UV and chemical resistance. Applying it correctly and letting it cure properly is essential for a lasting finish.
How can I troubleshoot common installation issues with flake epoxy?
Issues like bubbles, color problems, and adhesion issues can be fixed. Knowing the causes and solutions helps achieve a top-quality finish.
